Easy Installation
SAPboard Installation
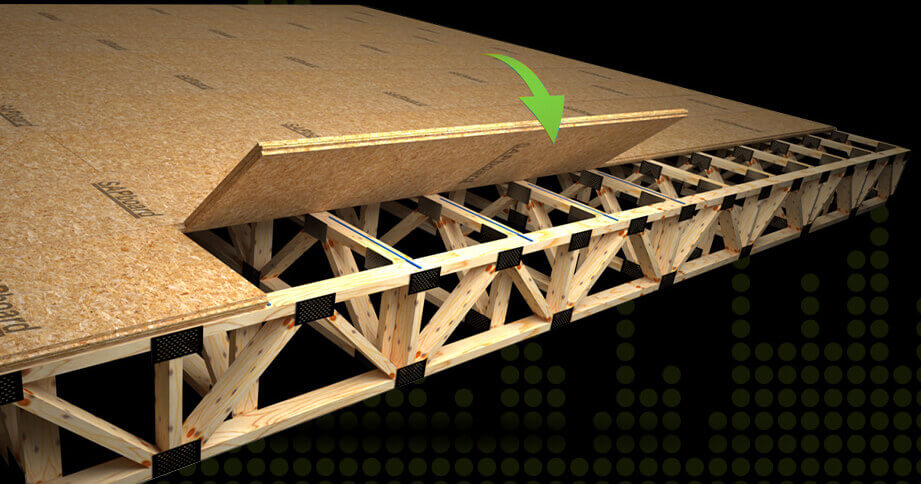
The SAPboard installation process is quick and simple. Contractors can install it in the same manner as a traditional subfloor, but without the usual prep time. SAPboard completely replaces the hassles of traditional gypsum concrete flooring; no dry and cure time, no demobilizing trades. Electrical and plumbing can start the same day.
Step 1
To install, just ensure framing and truss are square and level after all permanent bracing is installed.
Step 2
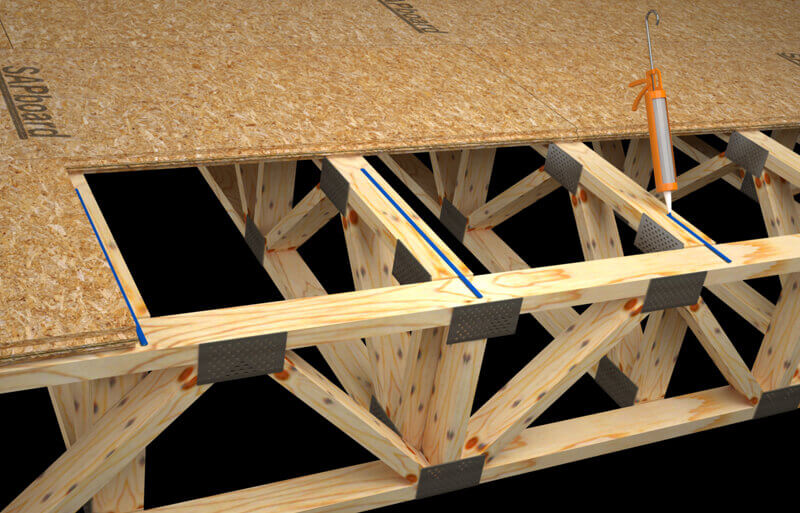
Applying SAPboard adhesive to the top of the truss
Step 3
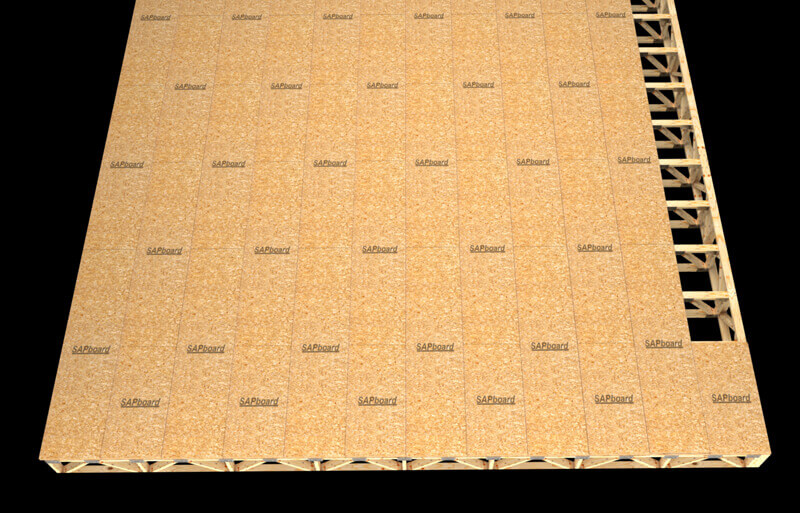
Space SAPboard on staggered centers
Step 4
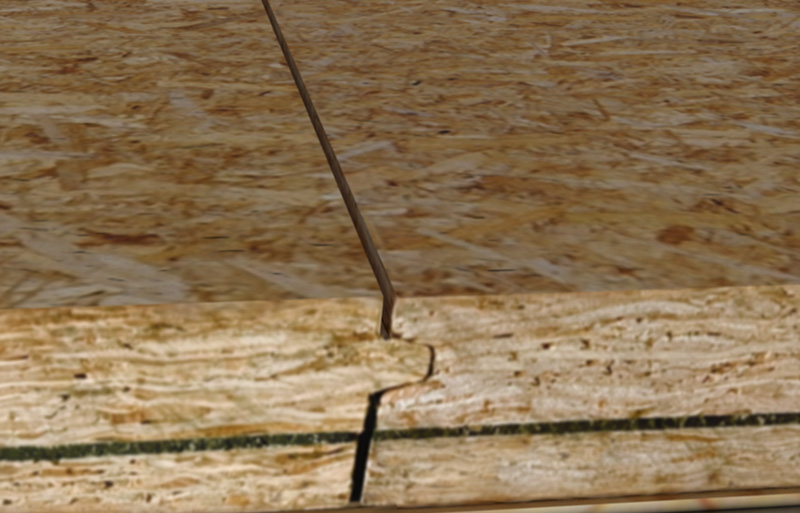
Ensure the space is equal on all four sides and that the SAPboard tongue fully engages in the groove as indicated.
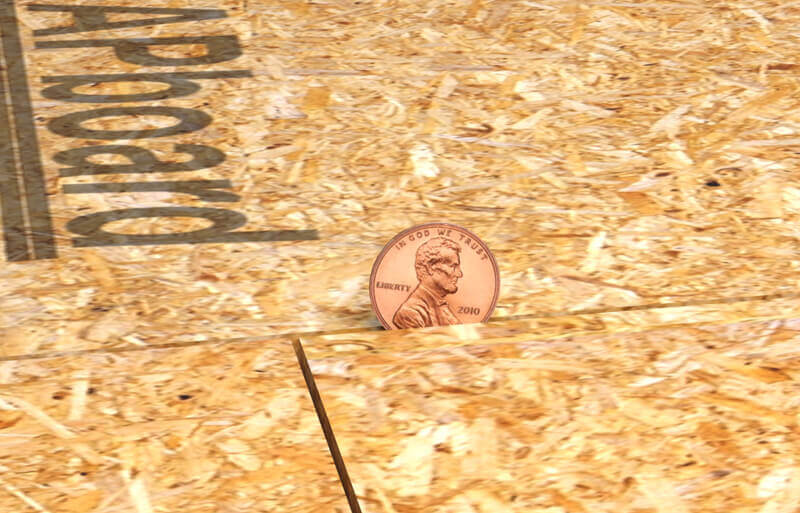
Step 5
Always install fasteners when adhesive is wet.
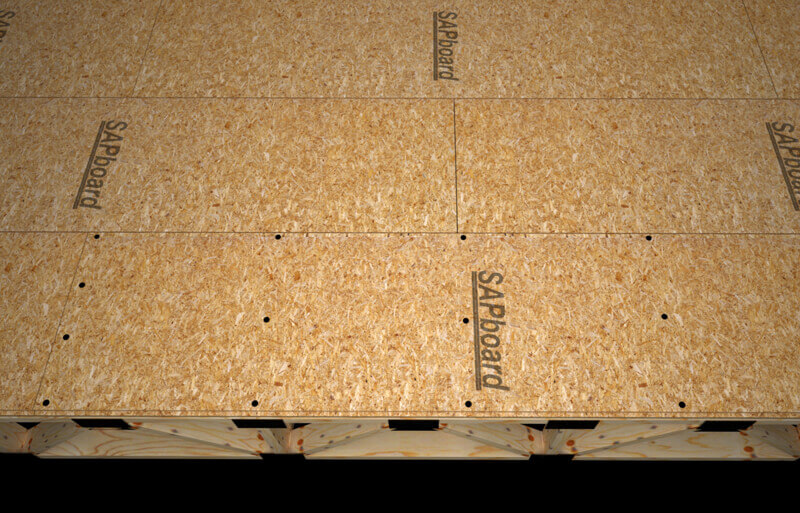
Step 6
Ensure specified spacing is maintained.
Drill any necessary plumbing and electrical holes as floors are built. Remove any high points as you would with any floor prep.
